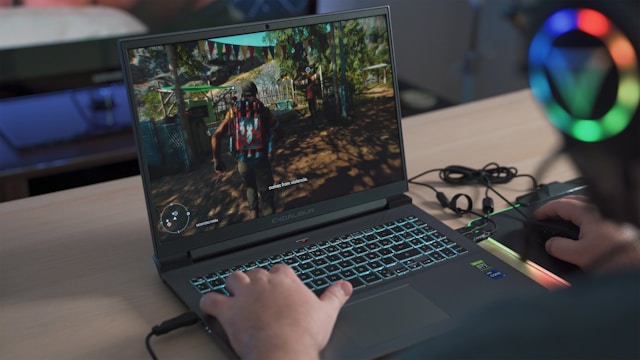
Building a gaming PC can be a rewarding experience, offering the flexibility to customize performance and aesthetics to suit your needs. This guide provides a step-by-step approach to building the ultimate gaming rig, covering essential components, assembly tips, and optimization strategies.
1. Choose Your Components
CPU (Central Processing Unit): The CPU is the brain of your PC. For gaming, consider high-performance processors like the AMD Ryzen 7 7800X or Intel Core i7-13700K.
GPU (Graphics Processing Unit): The GPU is crucial for rendering high-quality graphics. Look for powerful GPUs such as the NVIDIA GeForce RTX 4080 or AMD Radeon RX 7900 XT.
Motherboard: Select a motherboard compatible with your CPU and GPU. Popular choices include the ASUS ROG Crosshair X670E or MSI MAG Z790 Tomahawk.
RAM (Memory): For smooth multitasking and gaming, aim for at least 16GB of DDR5 RAM. Brands like Corsair and G.Skill offer reliable options.
Storage: Combine an NVMe SSD for fast load times (e.g., Samsung 980 Pro) with a larger HDD or SATA SSD for additional storage.
Power Supply Unit (PSU): Choose a PSU with sufficient wattage and efficiency. The EVGA SuperNOVA 850 G5 or Corsair RM850x are excellent choices.
Case: Select a case that fits your components and provides good airflow. Options like the NZXT H510 Elite or Fractal Design Meshify C are popular among gamers.
Cooling: Invest in a high-quality cooling solution, such as the Noctua NH-D15 or Corsair H100i, to keep your CPU and GPU temperatures in check.
2. Assemble Your PC
Step 1: Install the CPU and RAM onto the motherboard before placing it in the case. Follow the motherboard’s manual for correct installation.
Step 2: Mount the motherboard into the case and secure it with screws.
Step 3: Install the PSU and connect it to the motherboard, GPU, and storage devices.
Step 4: Insert the GPU into the appropriate PCIe slot and secure it with screws.
Step 5: Connect all cables, including power, data, and cooling fans. Ensure that all connections are secure and properly routed.
Step 6: Install the storage devices and connect them to the motherboard.
Step 7: Attach the case panels and ensure proper airflow by managing cables and verifying that all fans are operational.
3. Optimize and Test
Step 1: Enter the BIOS/UEFI settings to configure boot priorities and enable XMP (Extreme Memory Profile) for optimal RAM performance.
Step 2: Install your operating system (e.g., Windows 11) and necessary drivers for your components.
Step 3: Use benchmarking and stress-testing software, such as 3DMark or CPU-Z, to ensure that your system performs as expected and to check for stability.
Step 4: Adjust in-game settings and monitor performance to achieve the best balance between visual quality and frame rate.
Conclusion
Building a gaming PC allows you to tailor every aspect of your system to meet your needs and preferences. By carefully selecting components, following proper assembly procedures, and optimizing your setup, you can create a high-performance gaming rig that provides an exceptional gaming experience.


